
Plumbing problems can often disrupt our daily routines, but with a bit of knowledge and the right tools, many common issues can be tackled efficiently. From leaky faucets to water heater troubles, understanding the root causes and solutions can save you both time and money.
Leaky Faucets
Identifying the Source of the Leak
Leaky faucets are a prevalent issue in many households, leading to water wastage and increased bills. The primary causes include worn-out washers, damaged O-rings, and corroded valve seats. Washers experience wear and tear due to friction every time you turn the faucet on and off, eventually leading to leaks. O-rings, which are small rubber rings that help seal the valve, can either become loose or break, causing water to seep through. Valve seats, which connect the faucet to the spout, may corrode over time due to mineral deposits from hard water. By identifying where the leak originates—whether from the spout, base, or handle—you can accurately diagnose and address the problem.
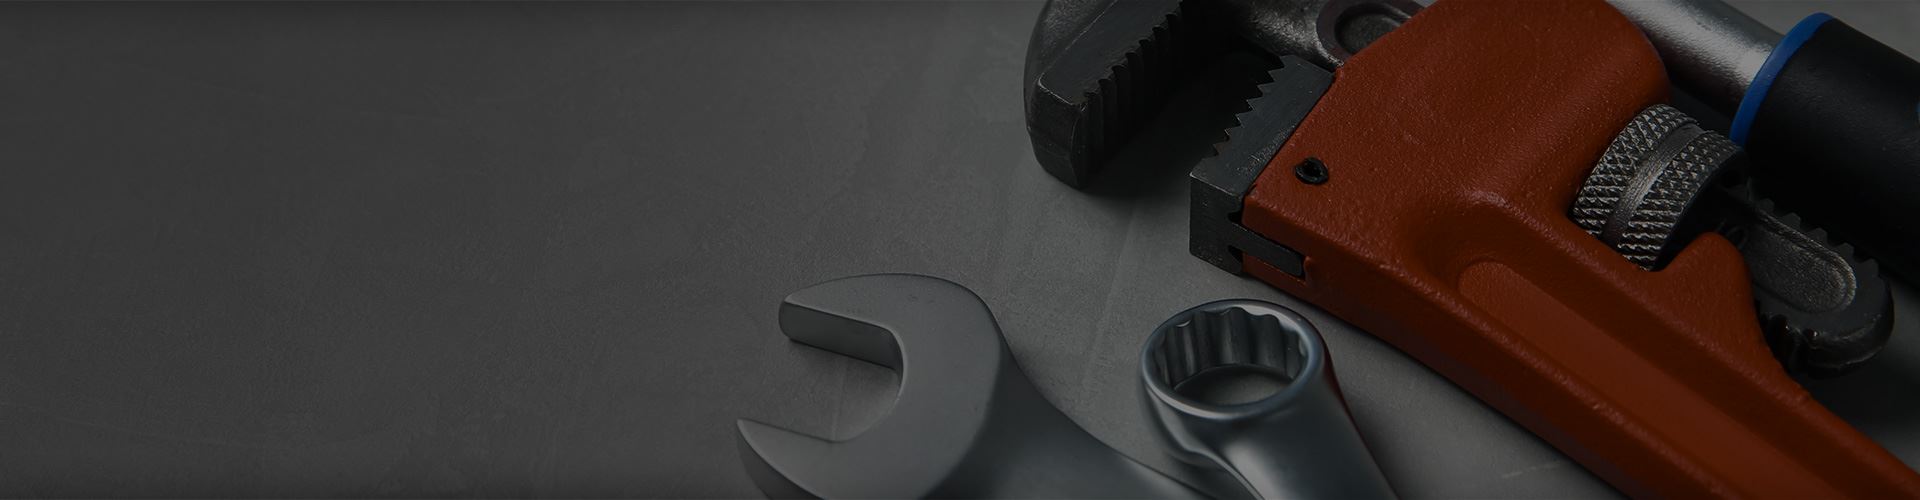
Tools and Materials Needed
Before starting the repair, it’s important to gather all necessary tools and materials to ensure a smooth process. You'll need:
- Wrenches and pliers: Essential for loosening and tightening nuts and bolts.
- Screwdrivers: Needed for removing screws that hold the faucet together.
- Replacement washers and O-rings: These are the parts most likely to need replacing.
- Plumber's tape: Helps ensure a tight seal and prevents leaks.
- Bucket or towel: To catch any water that might spill during the repair.
Having these items on hand will streamline the repair process and prevent interruptions.
Step-by-Step Repair Guide
- Shut off the water supply: Locate the valve under the sink and turn it clockwise to stop the water flow.
- Plug the drain: Use a sink plug or a rag to prevent any small parts from falling down the drain.
- Disassemble the faucet: Carefully remove the faucet handle and other components using a wrench or screwdriver, keeping track of the order in which you remove them.
- Inspect and replace worn parts: Examine the washer, O-ring, and valve seat for any signs of wear and tear. Replace any damaged components with new ones.
- Reassemble and test the faucet: Put the faucet back together in the reverse order of disassembly. Turn the water supply back on and check for any leaks to ensure the repair was successful.
Clogged Drains
Common Causes of Clogged Drains
Clogged drains can be quite disruptive. In bathrooms, hair and soap scum are the usual suspects. Hair can easily get tangled and combine with soap residue to form stubborn clogs. Over time, this buildup can restrict water flow, causing slow drainage or complete blockages. In kitchens, food particles and grease are the main culprits. Grease can solidify in the pipes, trapping food particles and other debris, which leads to clogging. Regular maintenance and being mindful of what goes down the drain can help prevent these issues.
DIY Unclogging Methods
Here are some effective DIY methods to unclog drains before calling a professional:
- Plunger: Fill the sink or bathtub with enough water to cover the plunger's cup. Create a tight seal and plunge vigorously to dislodge the blockage.
- Baking Soda and Vinegar: Pour a cup of baking soda down the drain, followed by a cup of vinegar. The chemical reaction between the two can help break down minor clogs. Let it sit for 15-30 minutes, then flush with hot water.
- Plumber's Snake: Insert the snake into the drain and push it through the blockage while turning the handle. This can break up and remove the clog. Afterward, pull out the snake and dispose of the debris.
When to Call a Professional
Persistent clogs that resist DIY methods or emit foul odors likely require professional intervention. This could indicate more severe issues like a damaged sewer line or deep blockages.
Running Toilets
Diagnosing the Problem
A running toilet can waste a significant amount of water and lead to higher utility bills. Common issues include a faulty flapper, fill valve problems, or a leaky flush valve. The flapper is a rubber seal that controls the flow of water from the tank to the bowl. If it's not sealing properly, water will continuously flow into the bowl. Fill valve problems can occur if the valve doesn't shut off the water supply once the tank is full. A leaky flush valve can also cause the toilet to run continuously. To diagnose the issue, remove the tank lid and observe the components while the toilet is running. This will help you identify which part needs attention.
Tools and Materials Needed
You will need a few essential tools and materials for the repair:
- Wrenches and pliers: For loosening and tightening nuts.
- Screwdrivers: For removing screws that hold the toilet components in place.
- Replacement flapper or fill valve: Depending on what needs to be replaced.
- Sponge or towel: To soak up any water in the tank during the repair process.
Having these items ready will make the repair process more efficient.
Step-by-Step Repair Guide
- Shut off the water supply: Turn the valve located behind the toilet clockwise to stop the water flow.
- Flush the toilet: This will empty the tank and make it easier to work on.
- Replace the faulty flapper or fill valve: If the flapper is the issue, disconnect it from the chain and remove it. Attach the new flapper and ensure it seals correctly. If the fill valve needs replacement, disconnect the water supply line and remove the old valve. Install the new valve according to the manufacturer's instructions.
- Turn the water supply back on and test the toilet: Ensure the repair was successful and there are no more leaks or continuous running.
Low Water Pressure
Common Causes of Low Water Pressure
Low water pressure can be frustrating and make everyday tasks like showering or washing dishes more time-consuming. Several factors can contribute to this issue, including clogged aerators, leaks in the plumbing system, or problems with the municipal water supply. Clogged aerators are a common cause, as mineral deposits can build up over time and restrict water flow. Leaks in the plumbing system can also reduce water pressure, as water escapes before reaching its destination. If the issue is widespread in your neighborhood, it might be due to municipal water supply problems.
DIY Troubleshooting Tips
If you're experiencing low water pressure, you can try these DIY troubleshooting tips before calling a professional:
- Clean or replace clogged aerators: Unscrew the aerator from the faucet and clean out any mineral deposits or debris. If it's heavily clogged, consider replacing it with a new one.
- Check for visible leaks: Look for damp spots on walls, ceilings, or floors, as these can indicate a hidden leak.
- Inspect the pressure regulator: The pressure regulator is usually located near the main water supply line. If it's faulty or set too low, it can reduce water pressure throughout your home. Adjusting or replacing the pressure regulator can often resolve the issue.
If these steps don’t improve the water pressure, it might be time to seek professional help.
When to Seek Professional Help
While many low water pressure issues can be resolved with DIY methods, there are times when professional assistance is necessary. If you've tried cleaning aerators, checking for leaks, and inspecting the pressure regulator without success, it's time to call a plumber. Persistent low water pressure can indicate more serious issues, such as problems with the main water line or significant leaks within the plumbing system.
Water Heater Issues
Common Water Heater Problems
Water heater troubles can be a major inconvenience, leaving you without hot water for showers, dishes, and laundry. Common problems include no hot water, insufficient hot water, and strange noises coming from the unit. No hot water can be caused by a faulty thermostat, heating element, or pilot light. Insufficient hot water might indicate a problem with the thermostat setting, a malfunctioning heating element, or sediment buildup in the tank. Strange noises, such as popping or banging, are often caused by sediment buildup at the bottom of the tank. Understanding these common issues can help you troubleshoot and address the problem more effectively.
DIY Troubleshooting and Repairs
If you're experiencing water heater issues, there are several DIY troubleshooting steps you can take before calling a professional:
- Check thermostat settings: Ensure the thermostat is set to the correct temperature. If the thermostat is faulty, you may need to replace it.
- Inspect the heating element: Look for any signs of damage or wear on the heating element. If it's malfunctioning, it can prevent the water from heating properly.
- Flush the tank to remove sediment: Over time, sediment can build up in the tank, reducing its efficiency and causing strange noises. To flush the tank, turn off the power supply, attach a hose to the drain valve, and drain the water into a bucket or outside. Once the tank is empty, turn the water supply back on to flush out any remaining sediment.
These DIY steps can often resolve common water heater problems and restore hot water to your home.
When to Call a Professional
While many water heater issues can be resolved with DIY methods, there are times when professional intervention is necessary. If you're dealing with a gas water heater, it's best to call a professional for any repairs, as working with gas lines can be dangerous. Additionally, if you've tried troubleshooting and the problem persists, it's time to seek professional help.
DIY Repairs Not Working?
Plumbing issues can be daunting, but many can be managed with the right knowledge and tools. When problems are beyond your DIY skills, Will's Plumbing in Las Vegas, NV, is here to help. Our experienced team is ready to ensure your home's plumbing system is in top condition. Reach out to us today at (775) 571-8597 or schedule an appointment online. Trust Will's Plumbing for all your plumbing needs.